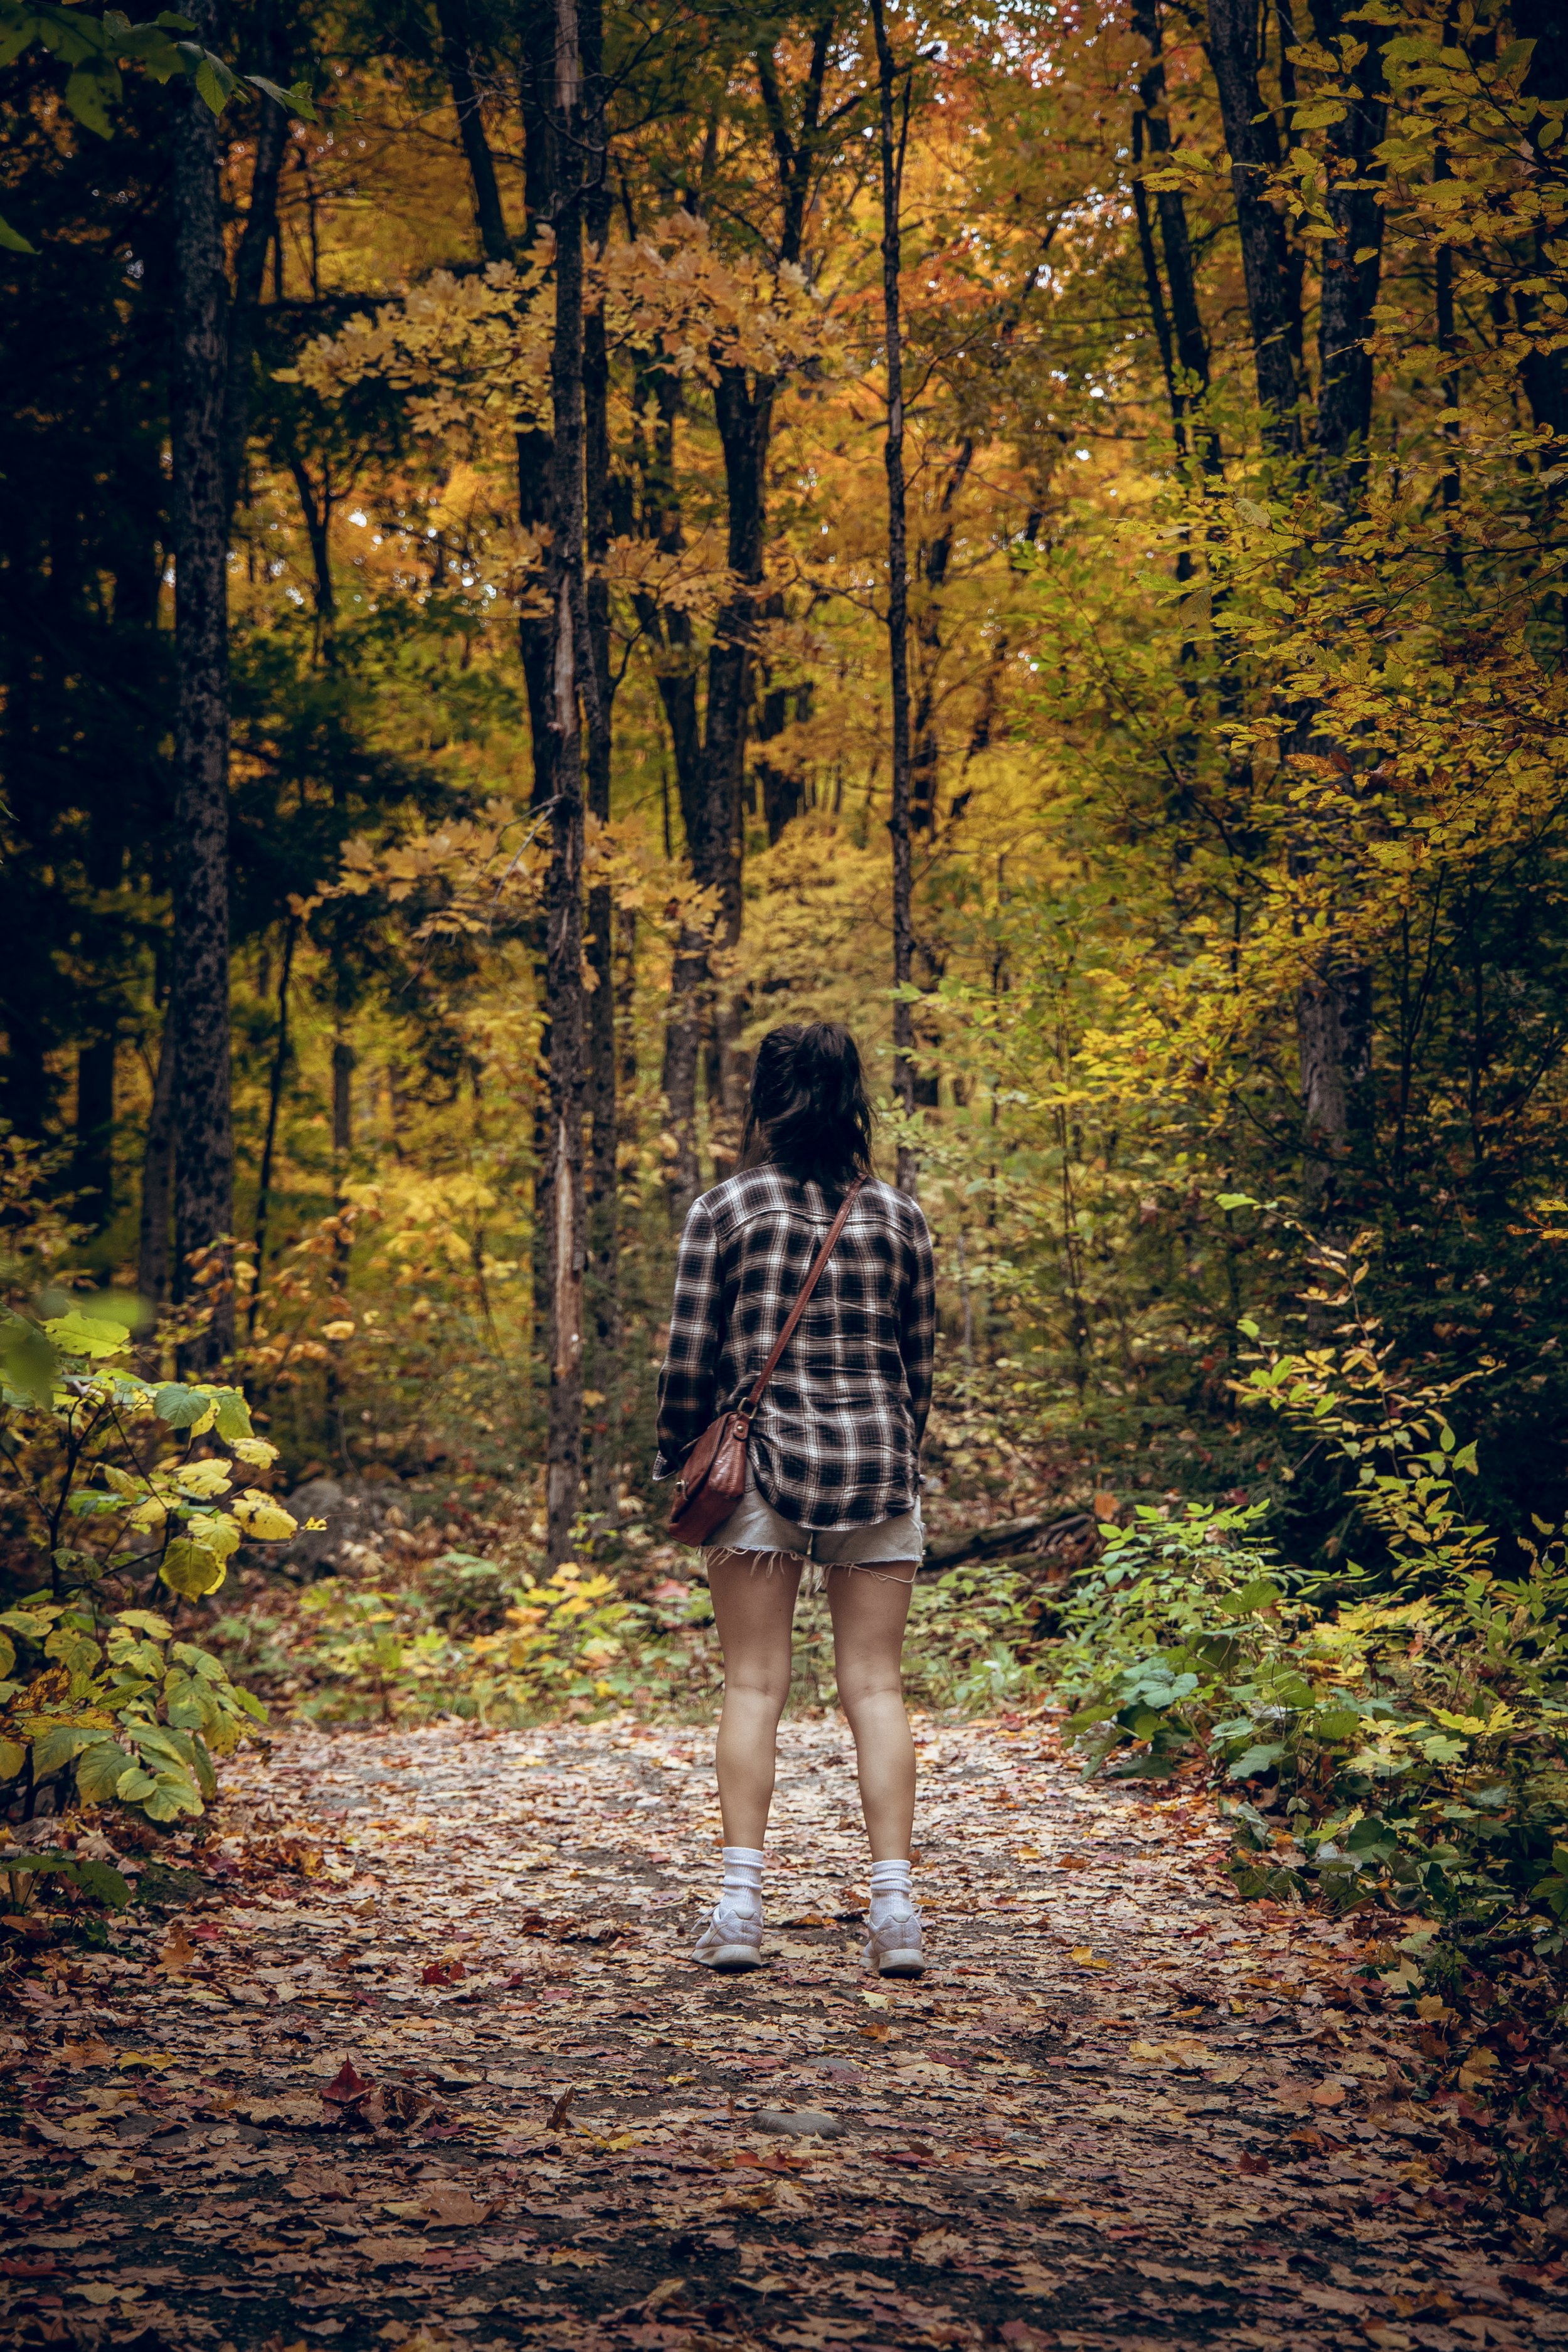
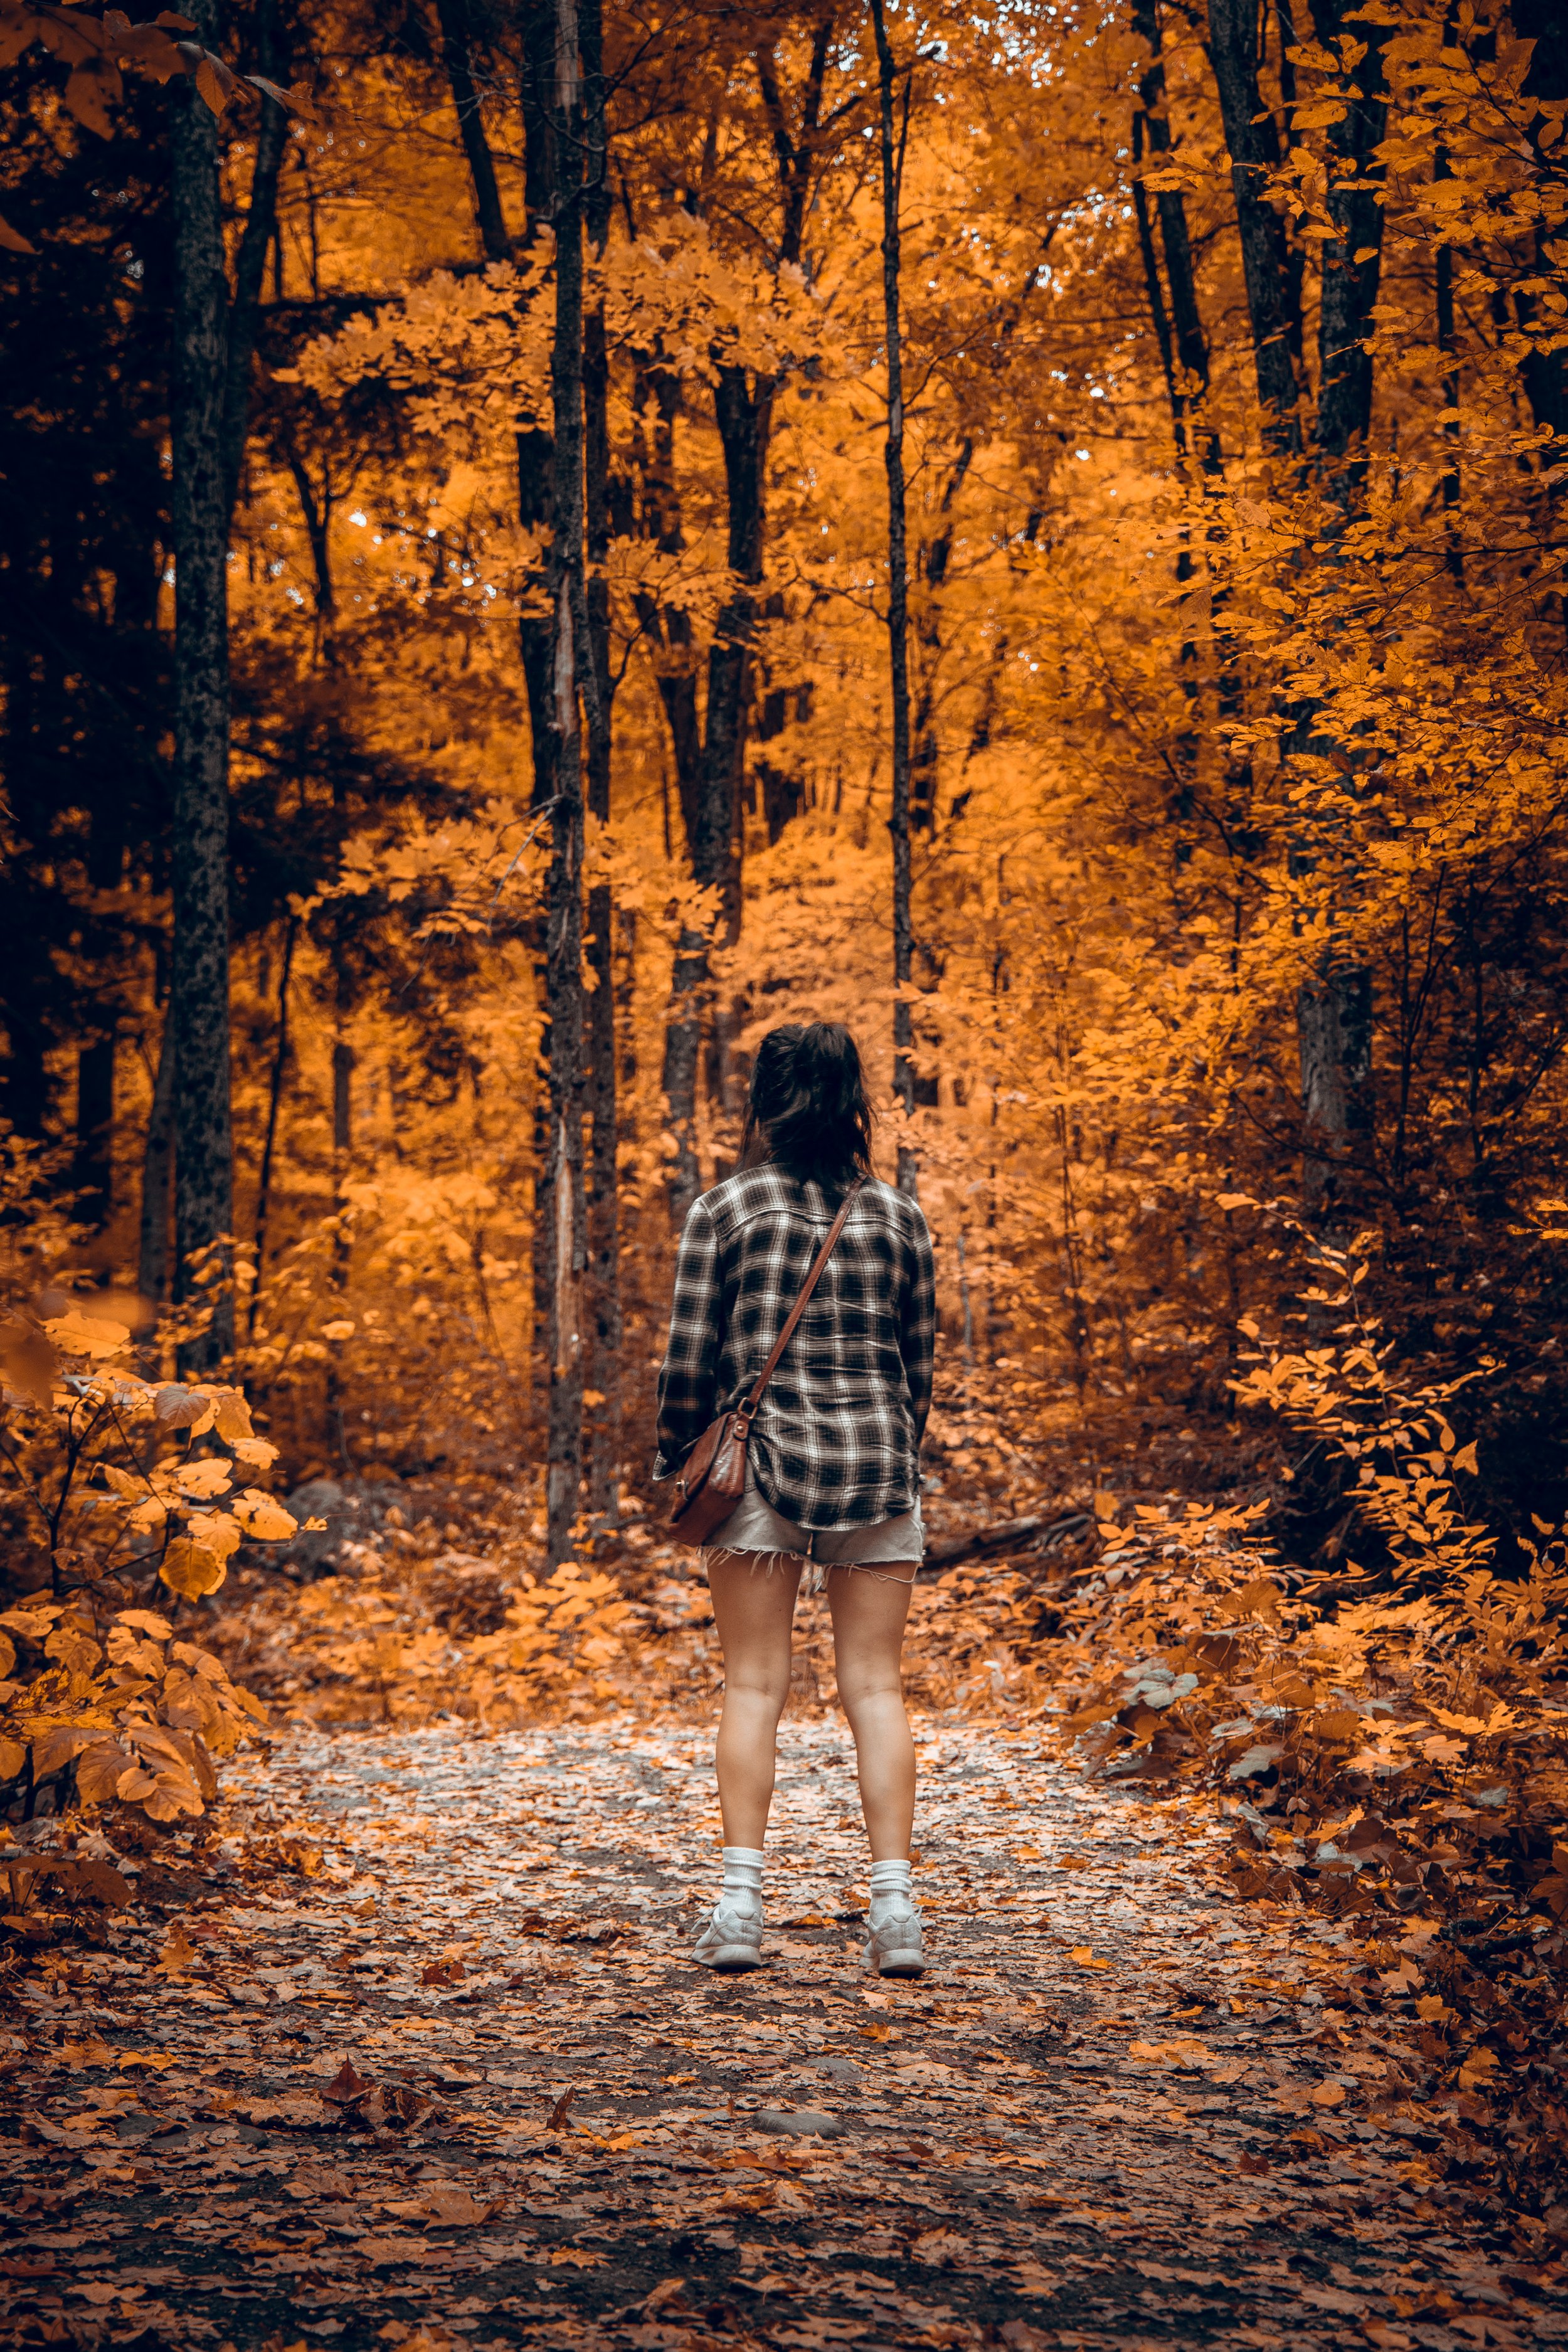
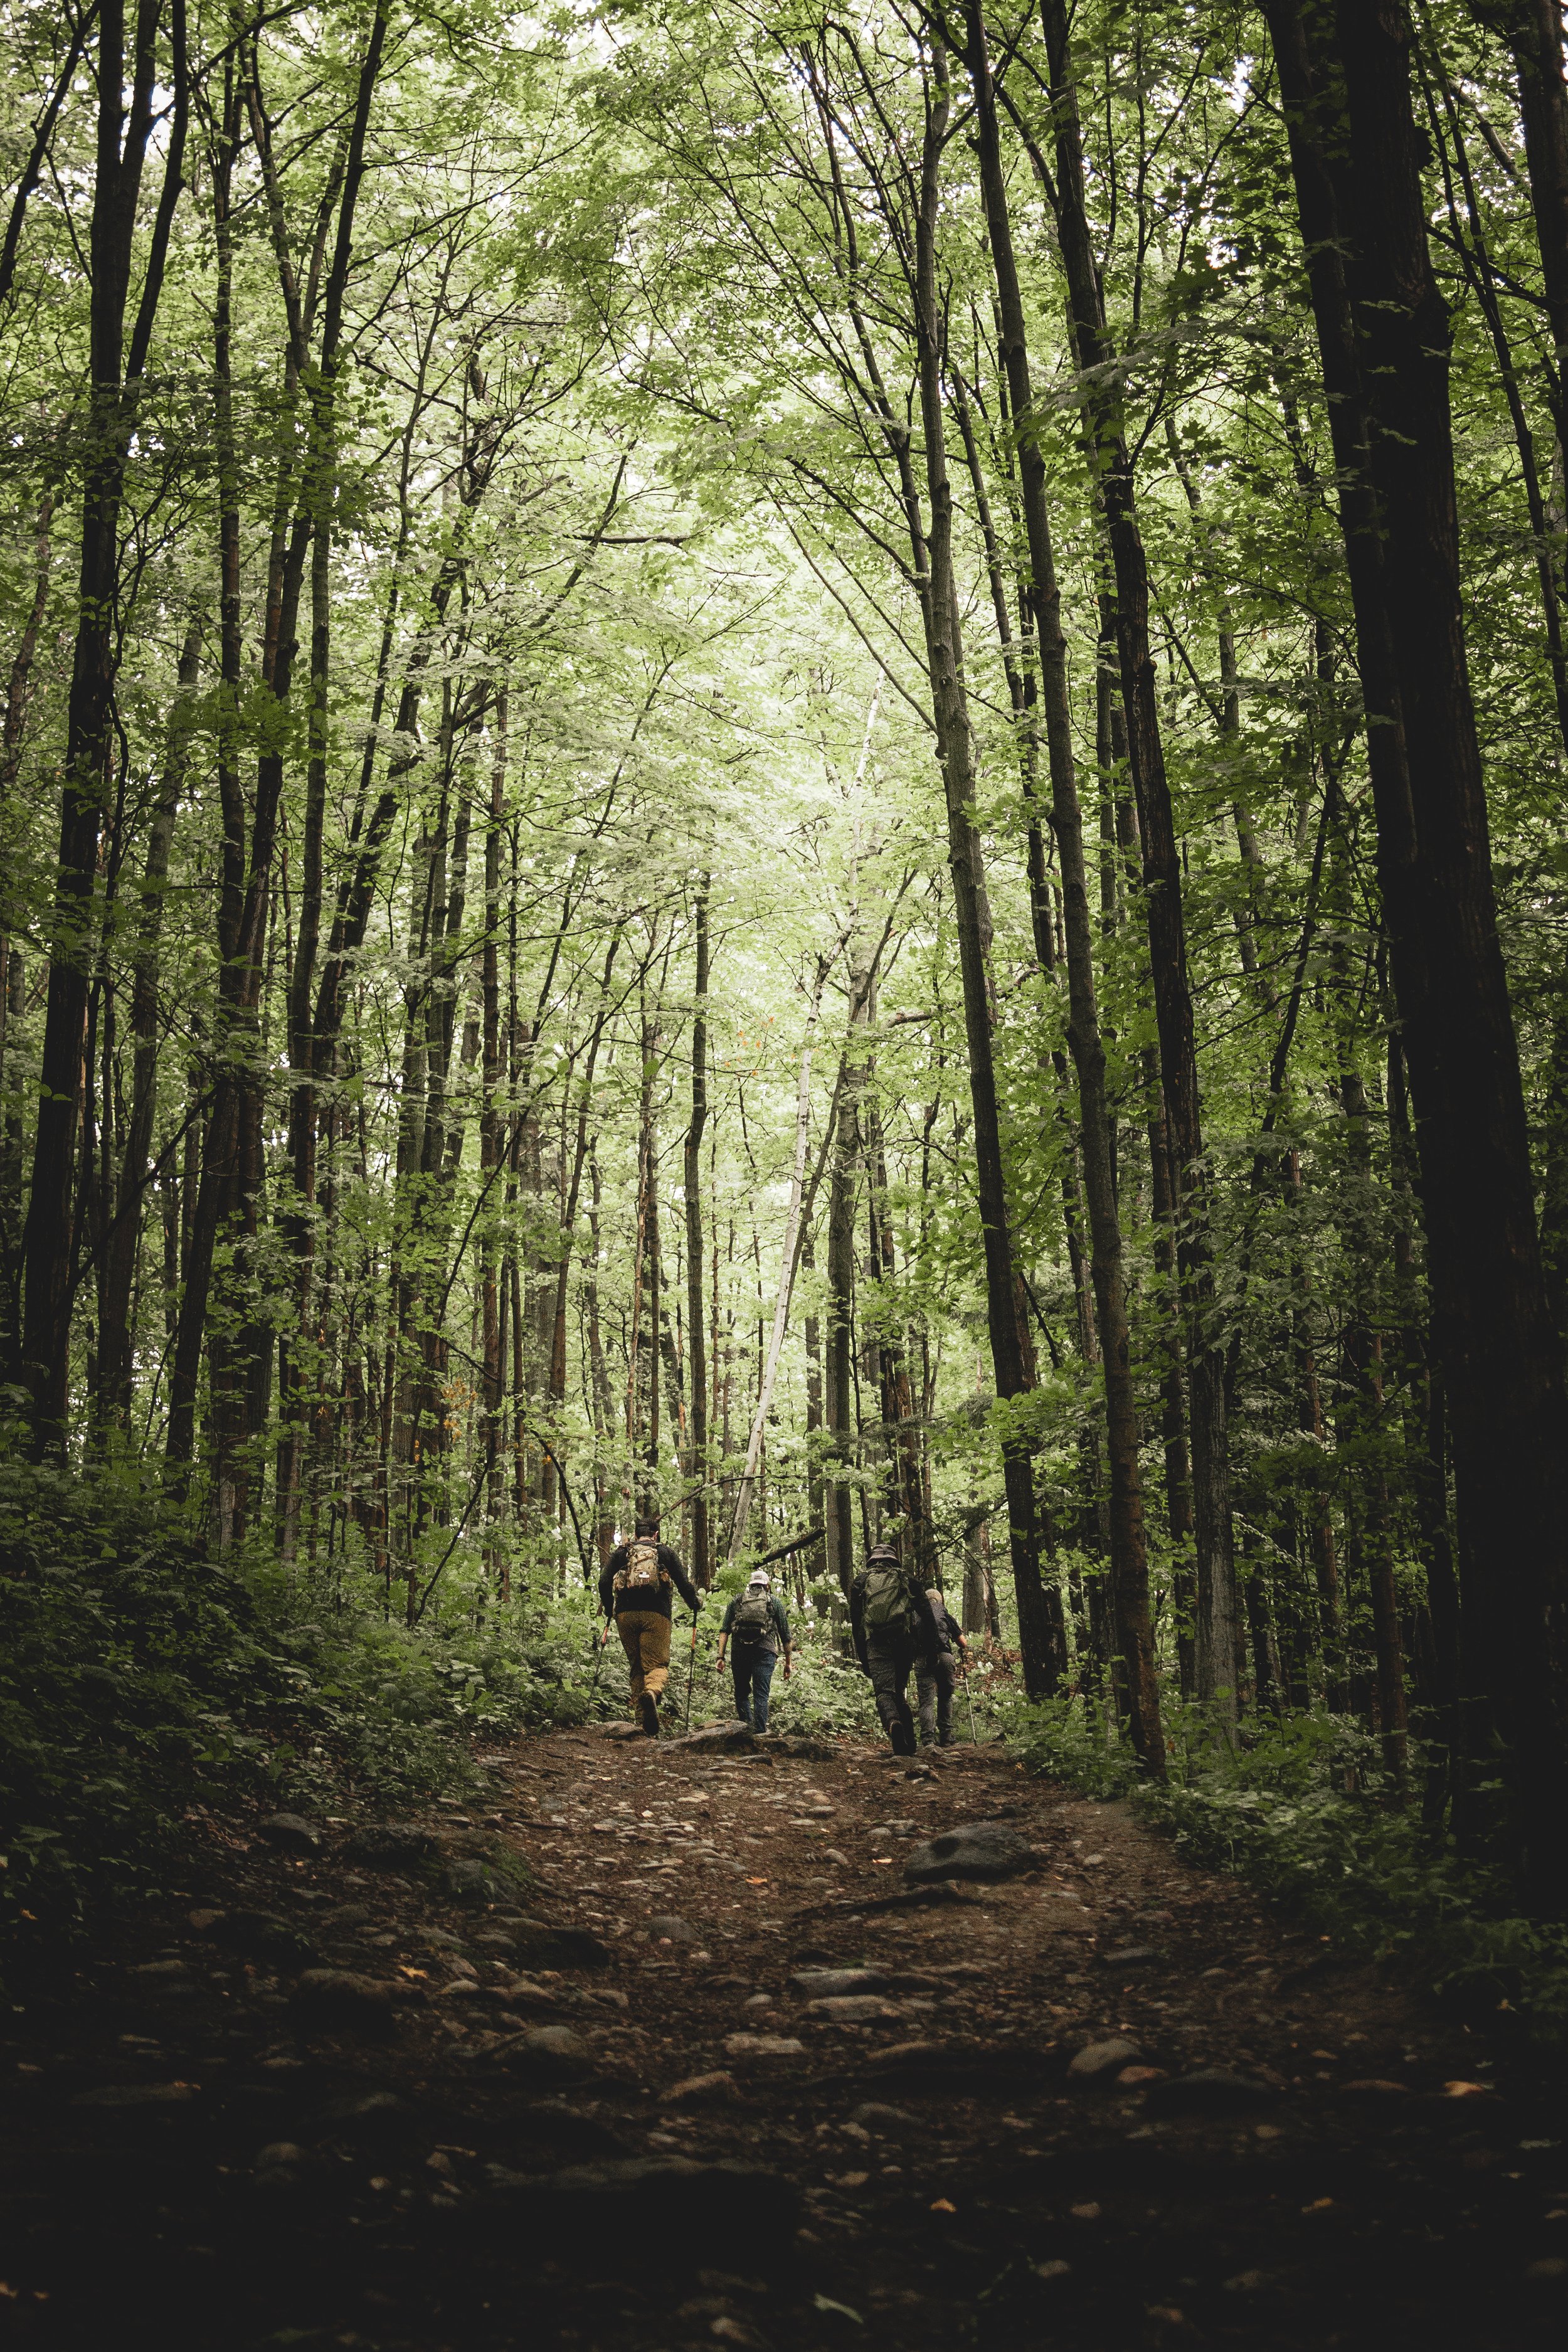
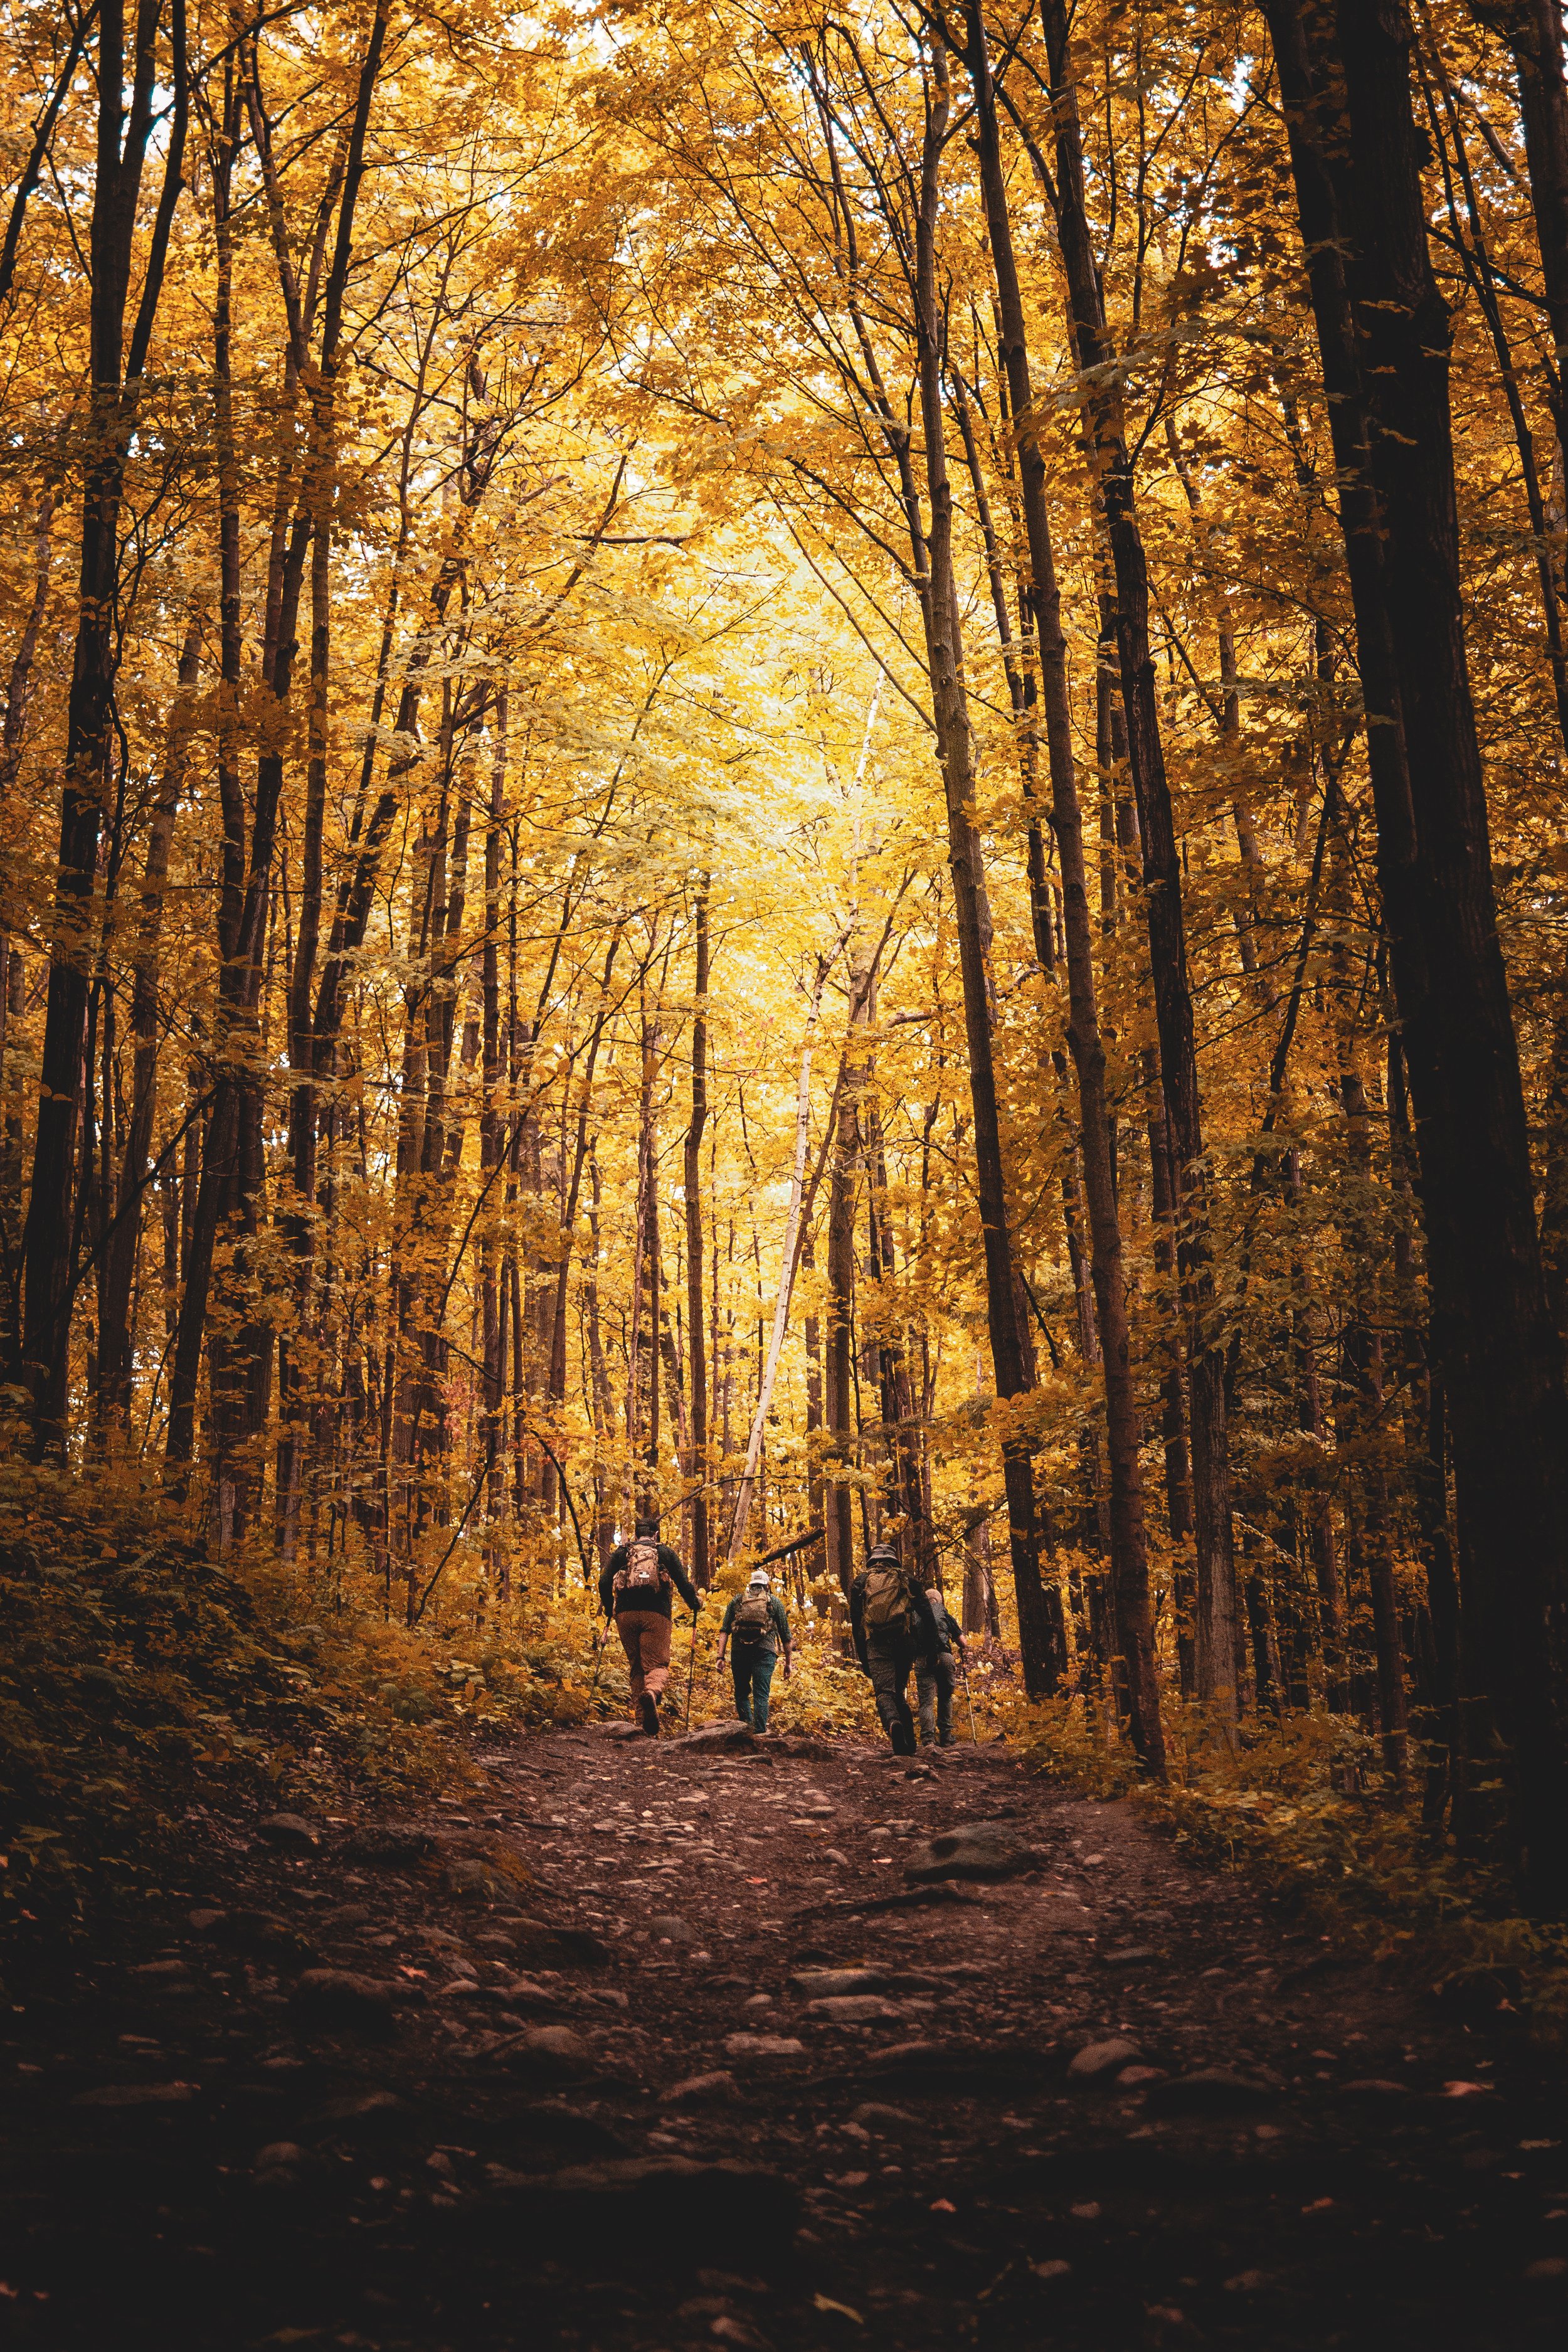
Lightroom Color Calibration - What is it?
Colour Calibration is one of the best kept secrets of your favorite Instagram photographers It hides at the very bottom of the Develop Panel, making it one of the least used, and least understood adjustments within Lightroom.
Colour Calibration was introduced as a way to colour-match photos from different cameras. You may have heard photographers say things like: “I really like Fuji colour science” or “I really like Canon’s skin tones. While at first, this might seem like some weird magical voodoo science, at the end of the day all of this can be rationalized within the Colour Calibration panel.
Let’s say for example, you have two photos from the same shoot, but one is shot on a Canon, and the other is shot on a Fuji; you need to deliver both of these photos to a client, but even though you make the exact same adjustments to both, the photo from Canon is a bit more red, and the photo from the Fuji is a bit more Magenta. In theory this is what the Calibration Panel was designed to solve. With a good eye, and some ever-so-slight tweaking of the colour primaries, you can compensate for these differences by diving into the adjustments within Colour Calibration.


Conversely, a lot of Photographers and Lightroom editors have hijacked this feature in the name of creativity. If you spend any time messing around with calibration, you will quickly discover that what you may have previously dismissed as some weird variation on Hue and Saturation, is actually an extremely powerful way to shift the way colours are interpreted within your photo. While on the surface, calibration may seem like it is some add-on feature that performs the same job as the HSL panel; it is actually applied BEFORE any of your other adjustments. Yes, even though it’s at the bottom of the develop panel, it actually gets applied before HSL, before the Tone Curve, and before White Balance.
I always recommend making Colour Calbiration adjustments early on in your editing workflow, otherwise you risk altering the integrity of the colours in your image. Of course, creativity is creativity, so don’t let the technicalities of a single tool prevent you from experimenting!
Check out the video above for a full breakdown of how to take advantage of Calibration to level up your Lightroom edits!