What are LUTs?
STOP USING LUTs! There’s a good chance you’re using them wrong!
If you subscribe to any YouTube filmmaker or follow popular online creators, you’ve likely heard them mention their Lightroom presets or “Cinematic” LUTs at least once!
The promise of LUTs is that with a simple click, they will make your video footage look exactly like the videos from your favourite creator, however; these LUTs have an inherent problem. Unless you’re shooting with the exact same camera, in the exact same colour space, and with the exact same LOG curve, applying a LUT is rarely a 1-click process.
“Unless you’re shooting with the exact same camera, in the exact same colour space, and with the exact same LOG curve, applying a LUT is rarely a 1-click process.”
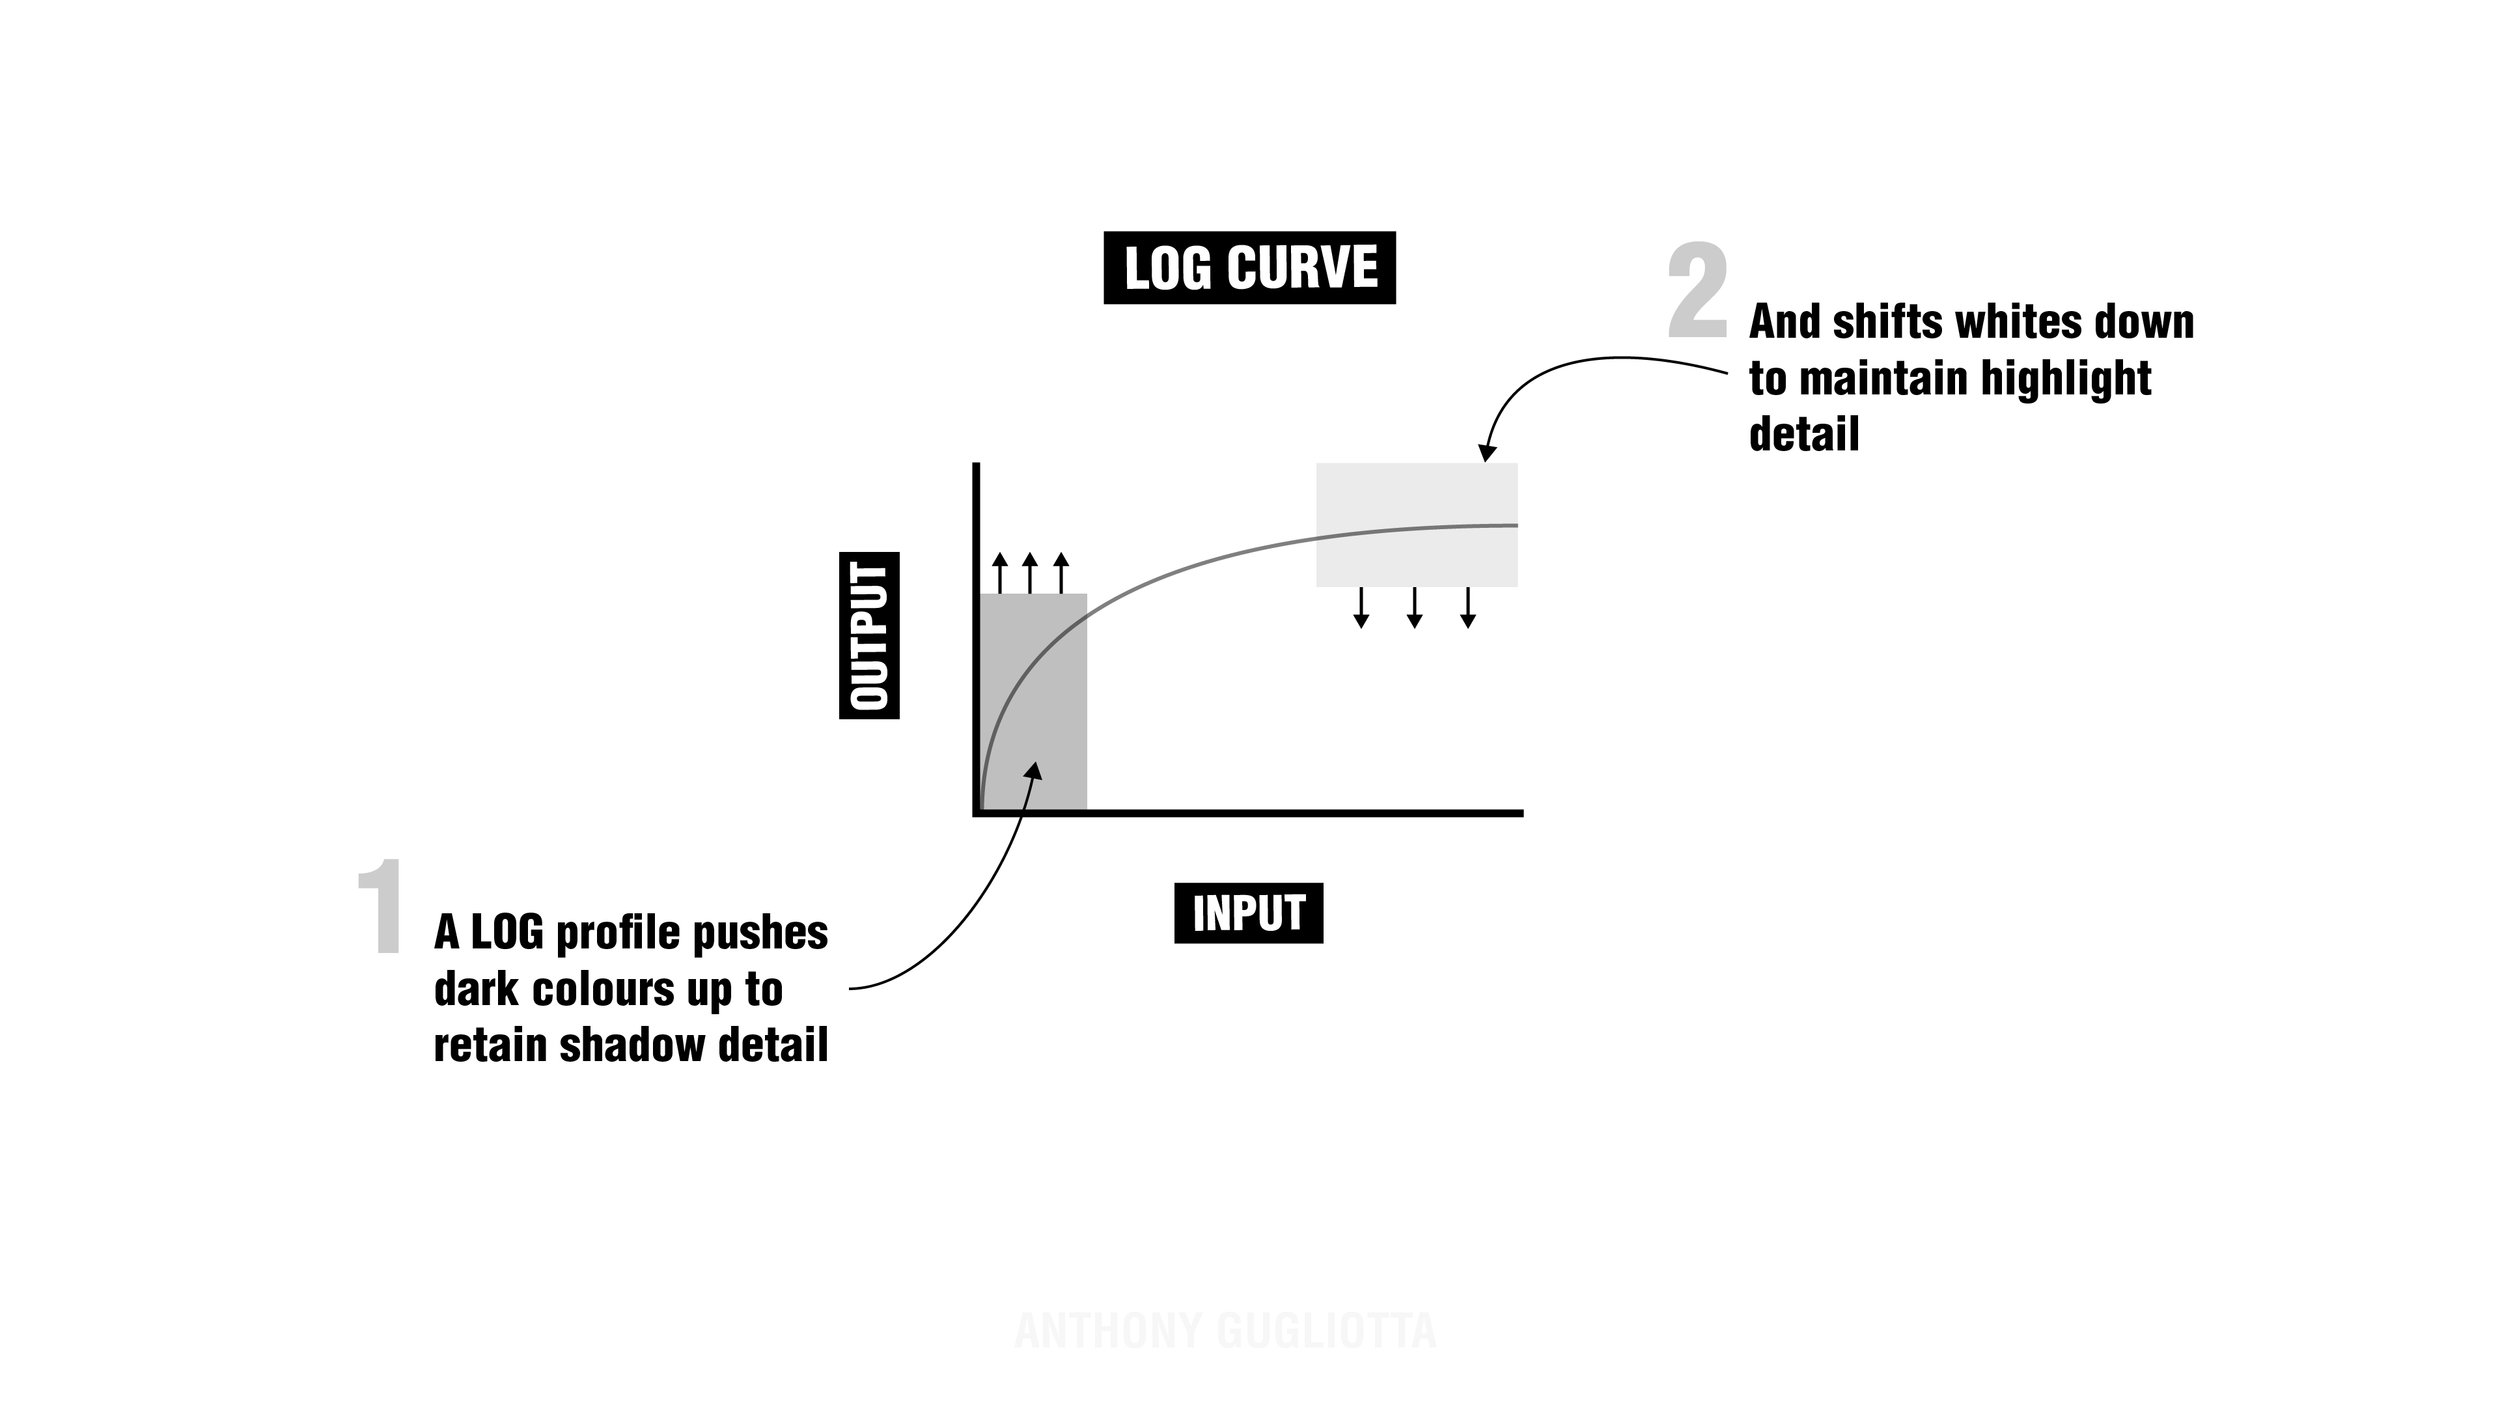
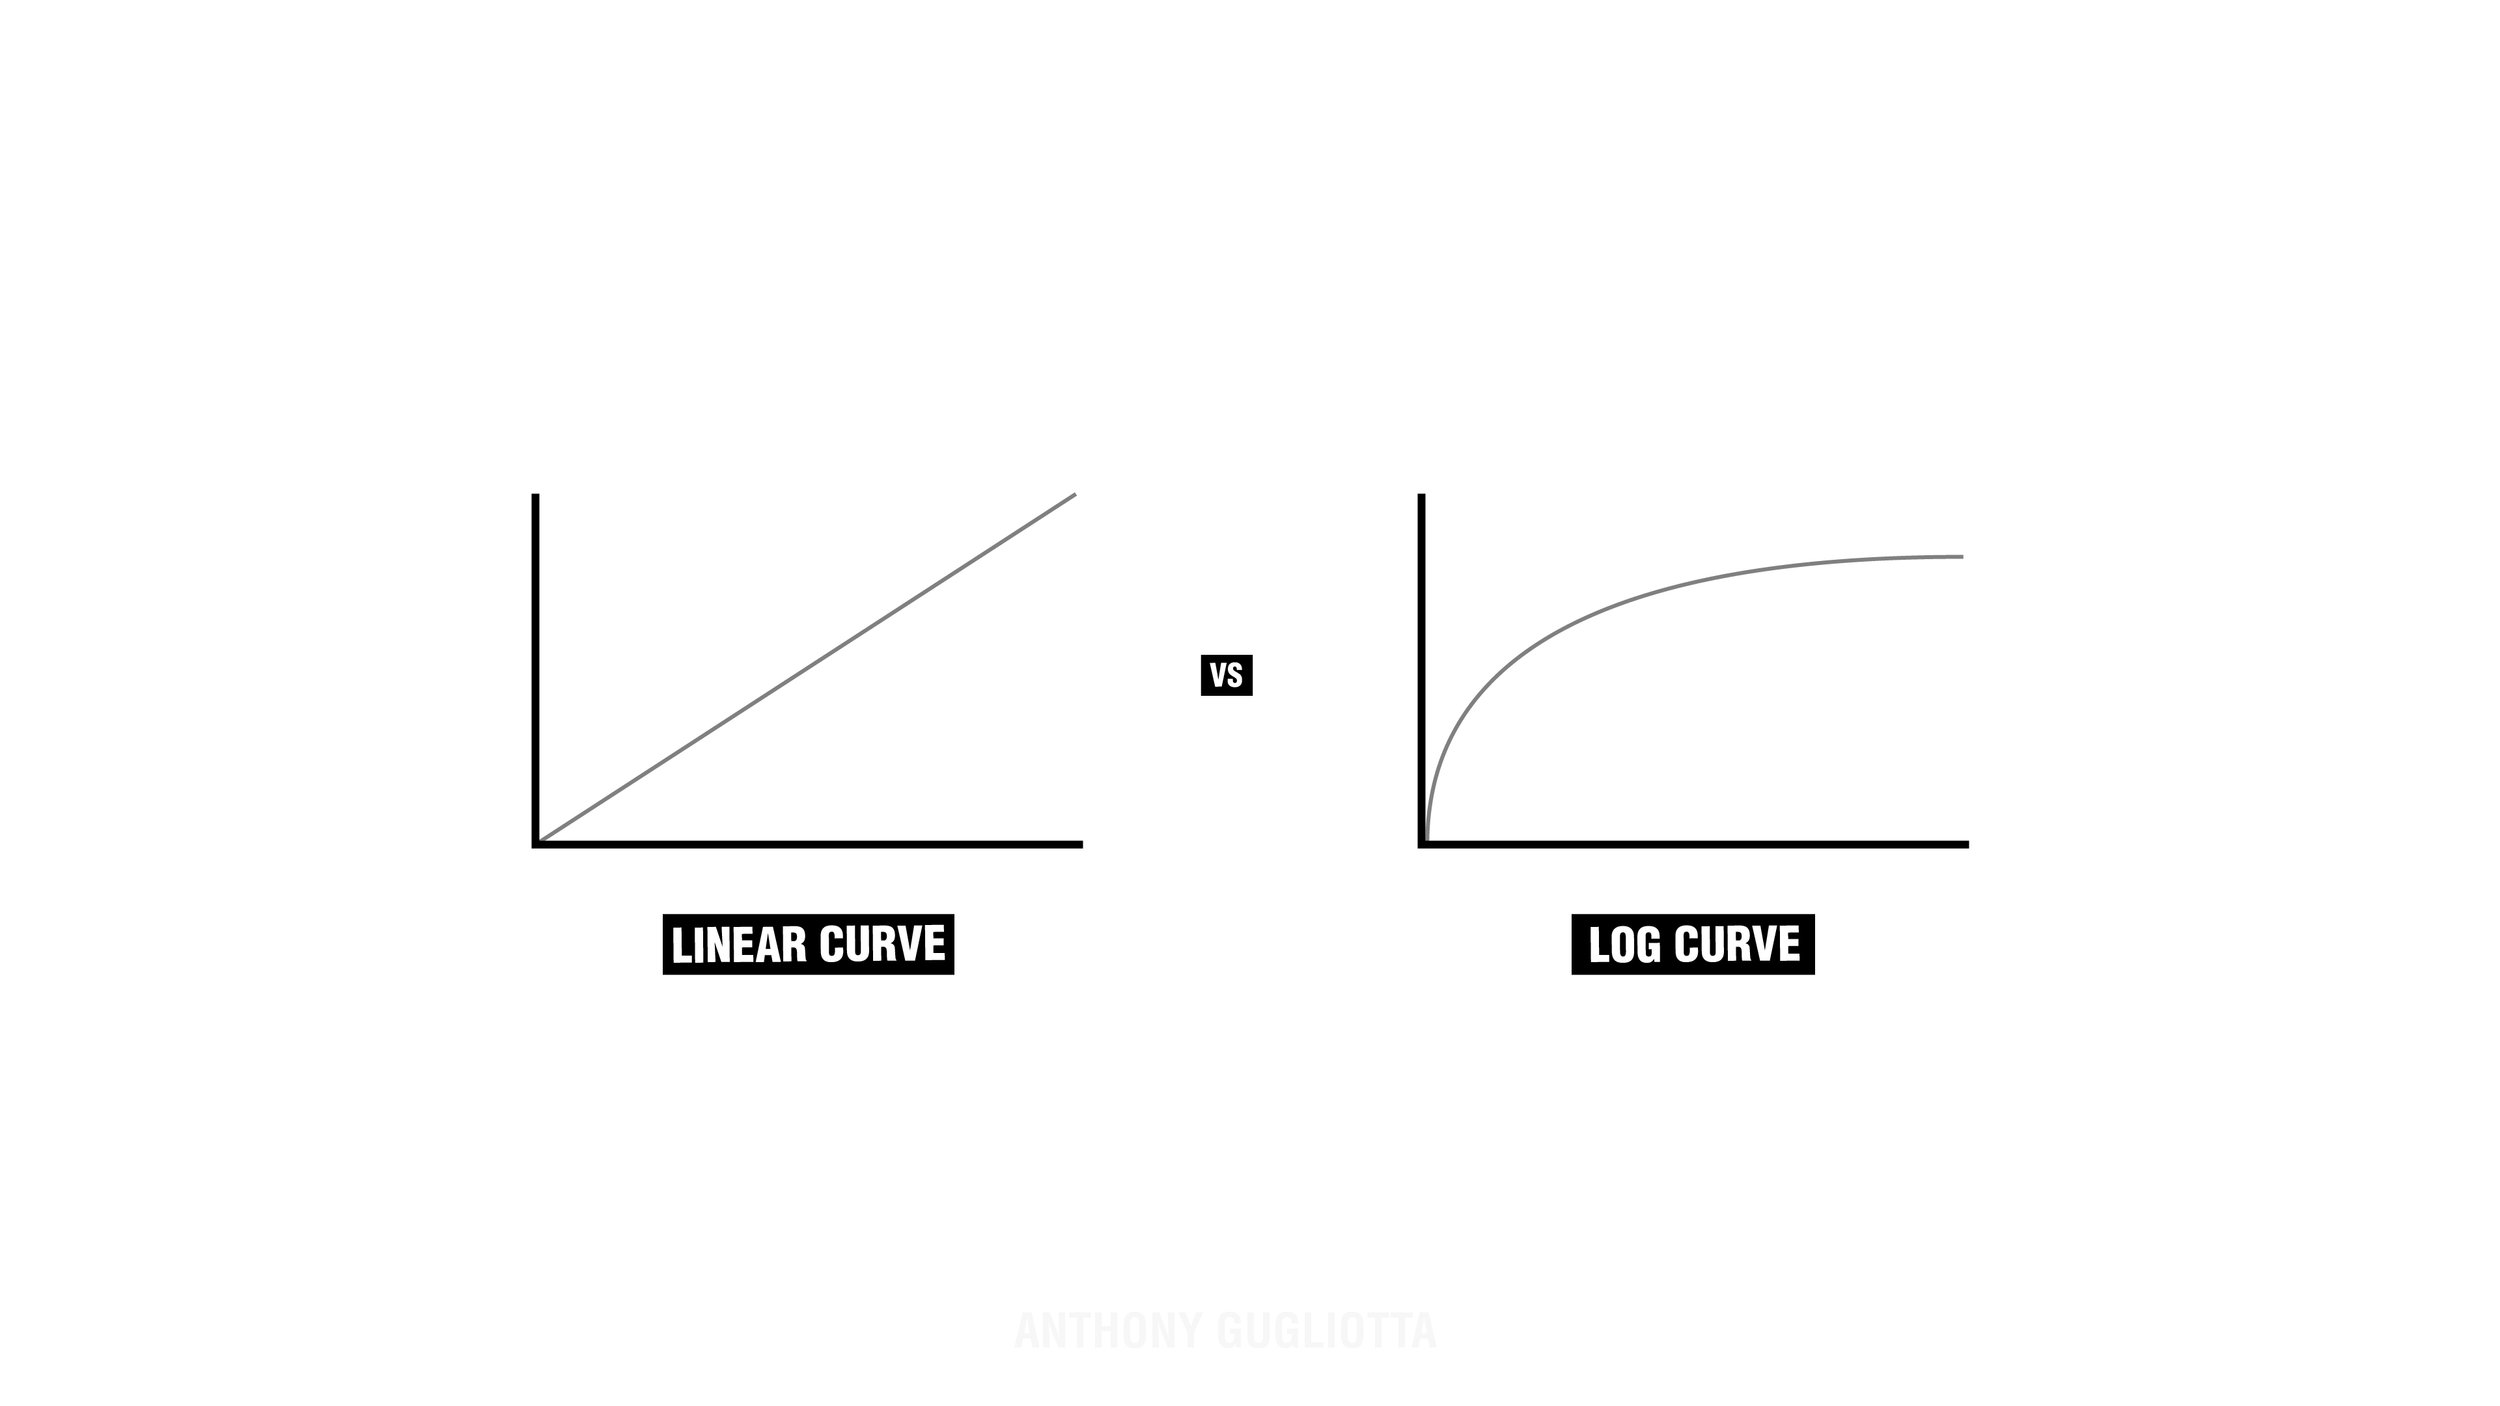
It’s common for filmmakers and video shooters to record [acquire] their content using a LOG or logarithmic colour profile. LOG footage offers greater flexibility when colour correcting footage during the editing process. LOG footage typically appears more “flat” because it is recorded in a way that retains the maximum amount of shadow and highlight detail. LOG footage is more flexible when it comes to both colour correcting and colour grading. If footage is accidentally underexposed or overexposed, a LOG profile is more forgiving in the event you need to make corrections.
“A conversion (or technical) LUT takes your footage and coverts it to the correct colour space for where your video will be shared.”
The first step in getting any LOG footage looking correct is to use what is known as a conversion LUT. A conversion (or technical) LUT takes your footage and coverts it to the correct colour space for where your video will be shared. If you are uploading to YouTube or any social media site, the colour space you should be converting to is Rec. 709. In my case, because I shoot with a Canon, there are specific conversion LUTs I can download directly from Canon to perform this conversion. (Download links below)
The mistake a lot of beginner editors will make is using LUTs from their favorite creator as a conversion LUT, rather than as a LOOK LUT or CREATIVE LUT. In premiere pro there are two different ways to apply a LUT. (To understand this process further, watch the video above)
As mentioned there are two types of LUTs, Technical and Creative. Technical LUTs are used to convert your footage from one colour space to another. Cameras like the Canon R5, R6 allow you to shoot in Canon’s Cinema Gamut colour space. Similarly camera’s like the A1 and A7iv can shoot video in the S-Cinetone colour mode which is borrowed from their professional cinema cameras. Both of these Cinema-style Colour spaces allow you to capture a wider gamut, or range, of colours, than would be possible if you were shooting in a standard linear REC. 709 colour profile.

“I always recommend starting your colour correction process with the official technical transformation LUT from your individual camera manufacturer.”
You can certainly use the LUT’s from your favourite creators, but keep in mind most of these LUTs should be applied as a LOOK or CREATIVE LUT. For ease of editing, I always recommend starting your colour correction process with the offical technical transformation LUT from your individual camera manufacturer.
If you’re looking for Technical Conversion LUTs I’ve compiled a list below, including some resources for additional reading that has helped me understand what LUTs better!

Recommended Reading
The Difference Between 17 Grid vs 65 Grid 3D LUTs: www.4kshooters.net
Video Colour Space: https://www.richardlackey.com/choosing-video-color-space
Understanding LOG Colour Space: https://www.rocketstock.com/blog/tips-for-log-color-space-compositing
Sony’s S-Cintetone Explained: https://nofilmschool.com/sony-s-cinetone-explained
How to Install LUTs in Premiere Pro: https://lutcompany.com/blog/install-luts-adobe-premiere-pro-2020
LUT Downloads
Canon Official CLog LUTs: Download Page
Sony LUT Library: Download Page
Sony LUTs for Color Grading: Download Page
DJI Conversion LUT: Direct Download
DJI DLog User Guide: Dlog-M to Rec. 709 User Guide